From Series: OSD HP Image Assistant Revisited – an Overview – Page has link to GitHub & TS Exports
In this post, I’m going to cover the most basic use of using HPIA in a task sequence, and running the defaults, pulling the latest content from HP’s cloud servers.
- Pros:
- Latest and most updated / secure content
- Nothing to manage
- Simple
- Cons:
- Content changes regularly, removing your ability to have consistency in your fleet
- Giving up control
This is similar to Microsoft’s autopatch. Do you want to set it and forget it? If you have a simple environment, mostly web applications, are doing things “modern”, aka, cloud native, then this approach might work very well for you. I did this for years, and it worked well, leaving me time to deal with other things.
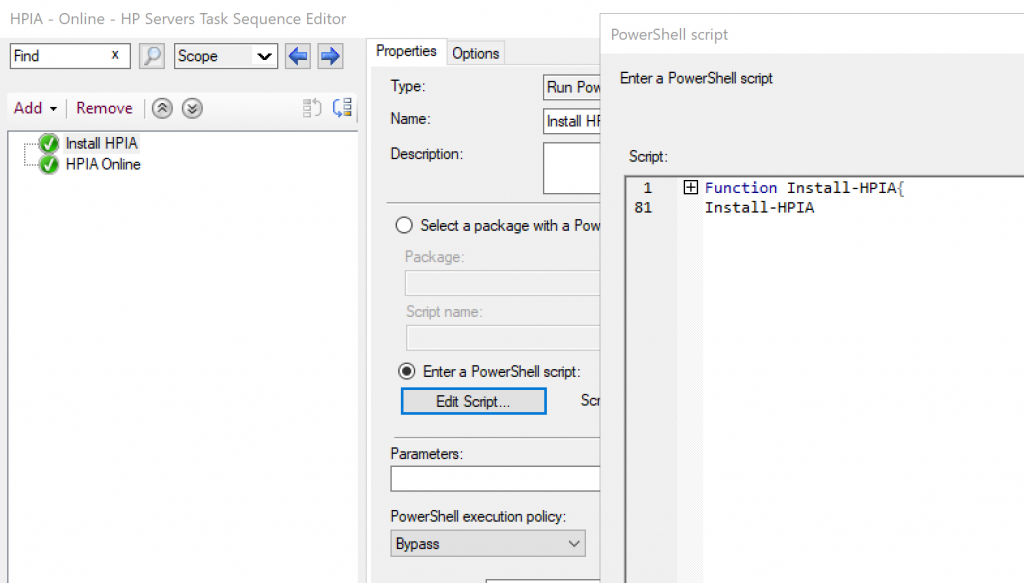
In this version, I’m also downloading and installing HPIA directly from HP using a PowerShell Function I wrote.
My HPIA Functions can be found here: OSD/Public/OSDCloudTS/Invoke-HPIA.ps1 at master · OSDeploy/OSD · GitHub
Look for the function “Install-HPIA” in that PowerShell script.
The function “Install-HPIA” will install HPIA to Program Files\HP\HPIA\bin


"%ProgramFiles%\HP\HPIA\bin\HPImageAssistant.exe" /Operation:Analyze /Category:All /Selection:All /Action:Install /Silent /ReportFolder:"%temp%" /debug /LogFolder:"%temp%"Optional Items: ReportFolder, Debug, LogFolder
Now that you have this created, you can add it as a child task sequence in your OSD task sequence, and it will run updating your HP Content. Note that the command line is SILENT, so it will not popup a dialog box, you’d only see the TS Progress UI. Feel free to play around with that command line to change the Category or other options. Please refer to the HPIA User Guide.
GARYTOWN.COM