TLDR: Script on GitHub: garytown/OSD/ARM64/Create-WinPEARM64.ps1
NOTE, this will be the first of a few posts dealing with my ARM devices experience. I now have a single ARM test device (consumer grade Samsung Galaxy Book Go – NP340XLA-KA1US) and hopefully a MS Surface device soon, and eventually some yet to be released HP devices. Future posts will go into imaging those devices, and the experienced gained… back to the regular post…
So recently ConfigMgr TP added support for OSD on ARM64. I have yet to try that, as I haven’t felt like setting up a TP just to test this feature. I also didn’t have any devices with an ARM64 processor, which prevented all testing anyway.
So, before I had an ARM64 device, I started to build an ARM64 WinPE, because hey, I don’t need a test device to start prepping. I found that ARM64 PE is like 95% the same as building a standard x64 (AMD64) WinPE, just a couple minor things to be aware of.
- Replicating some of the processes MS provides for X64 and doing it manually (then scripting)
- Adding components has to be in a very specific order, this took a bit of trial and error
- Drivers… that’s the hardest part, finding drivers needed… which I didn’t really grasp until I had a test machine
First things first… Install the Latest ADK for Windows
- Download and install the Windows ADK | Microsoft Learn
- Familized yourself with the default location – Default ADK Paths
- $ADKPath = “C:\Program Files (x86)\Windows Kits\10\Assessment and Deployment Kit”
- $ADKPathPE = “$ADKPath\Windows Preinstallation Environment”
- Learn what you need to make a bootable drive
- WinPE: Create bootable media | Microsoft Learn
- Looked at copype and rewrote what that did in PowerShell
- “C:\Program Files (x86)\Windows Kits\10\Assessment and Deployment Kit\Windows Preinstallation Environment\copype.cmd”
- I then cheated and used OSDClouds ability to create a boot able flash drive and replaced the WinPE contents with my own.
- WinPE: Create bootable media | Microsoft Learn
So at this point I’m assuming you’ve installed the ADK, and I’m going to start going over the code, snip by snip. Please note, that these snips are a bit watered down compared to the script on GitHub, removing checks and details, as to talk more directly to the process.
First Snip = Setting Variables for where we want to build our ARM64 Media
$WinPE_ARM64WorkSpace = "C:\WinPE_ARM64_OSDWorkSpace"
$MountDir = "C:\WinPE_ARM64_MountDir"
#Default ADK Paths
$ADKPath = "C:\Program Files (x86)\Windows Kits\10\Assessment and Deployment Kit"
$ADKPathPE = "$ADKPath\Windows Preinstallation Environment"
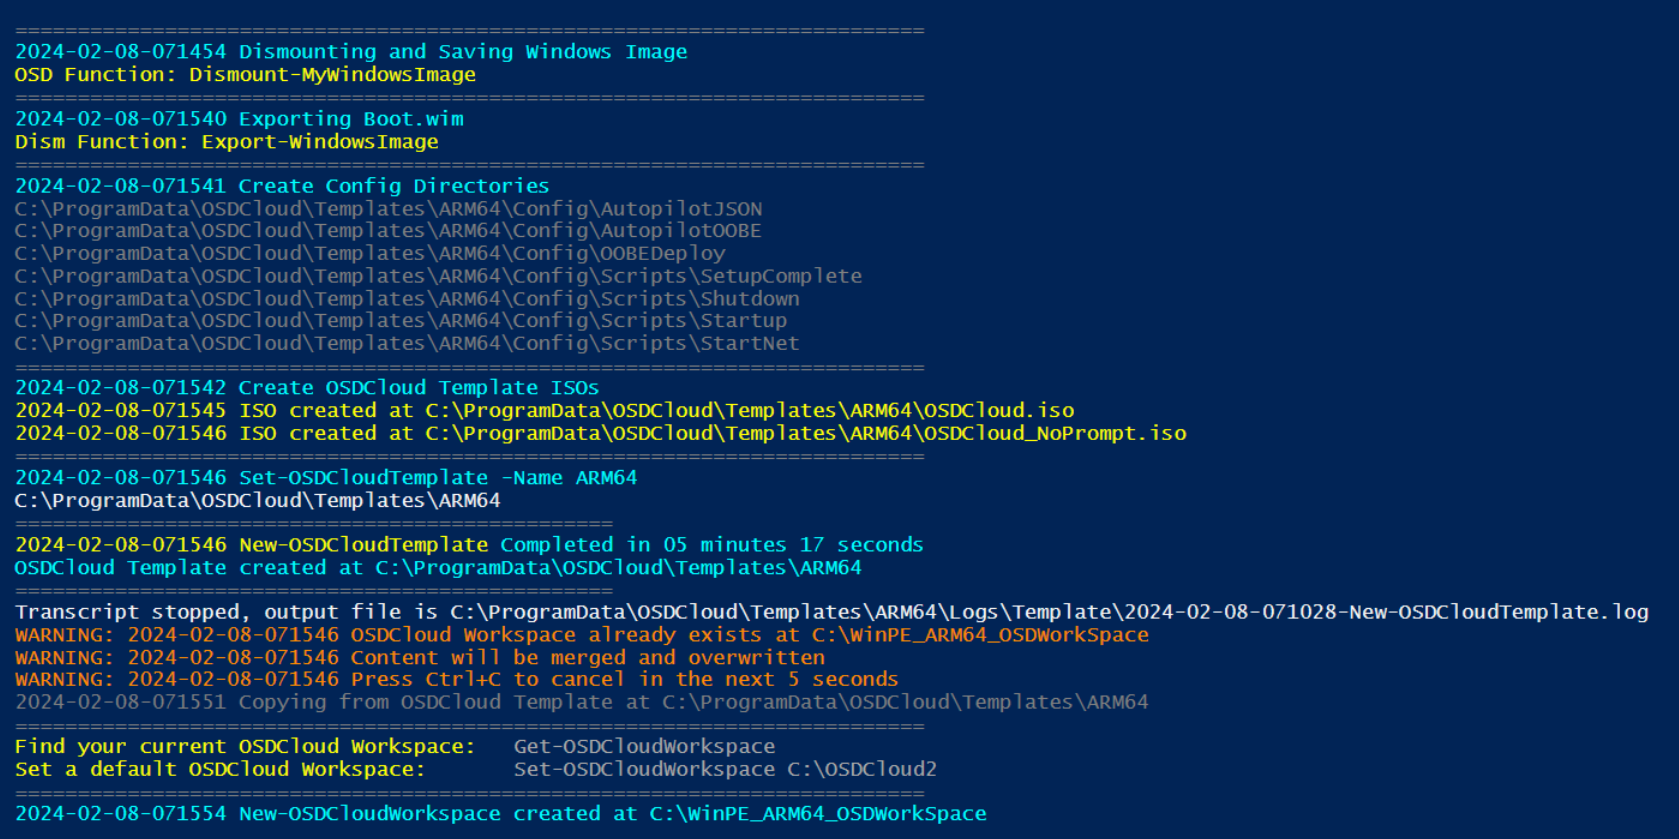
if (!(test-path -path "$WinPE_ARM64WorkSpace")){New-Item -Path $WinPE_ARM64WorkSpace -ItemType Directory | Out-Null}Now, we’re going to leverage the PS Module OSD to build out an environment for us, basically to make life easy later, but using David Segura’s functions to edit and update Flash Drives. We’re going to create a generic OSDCloud Template, then a WorkSpace, then clean out the defaults. This will take a few minutes, and then we end up deleting it all anyway.. oh well.
#Create OSDCloud Template - This will build x64 template, no big deal, we'll replace later.
$OSDCloudTemplateName = 'ARM64'
if ((Get-OSDCloudTemplateNames) -notcontains "$OSDCloudTemplateName"){
    New-OSDCloudTemplate -Name ARM64
}

#Create the OSDCloud WorkSpace - This will be created based on the template, but we'll replace what we need
if ((Get-OSDCloudWorkspace) -ne $WinPE_ARM64WorkSpace){
    New-OSDCloudWorkspace -WorkspacePath $WinPE_ARM64WorkSpace
}

#Clean it out to replace with the ARM64 Stuff we'll build
Remove-Item -Path "$WinPE_ARM64WorkSpace\media\*" -Recurse -Force
Remove-Item -Path "$WinPE_ARM64WorkSpace\logs\*" -Recurse -Force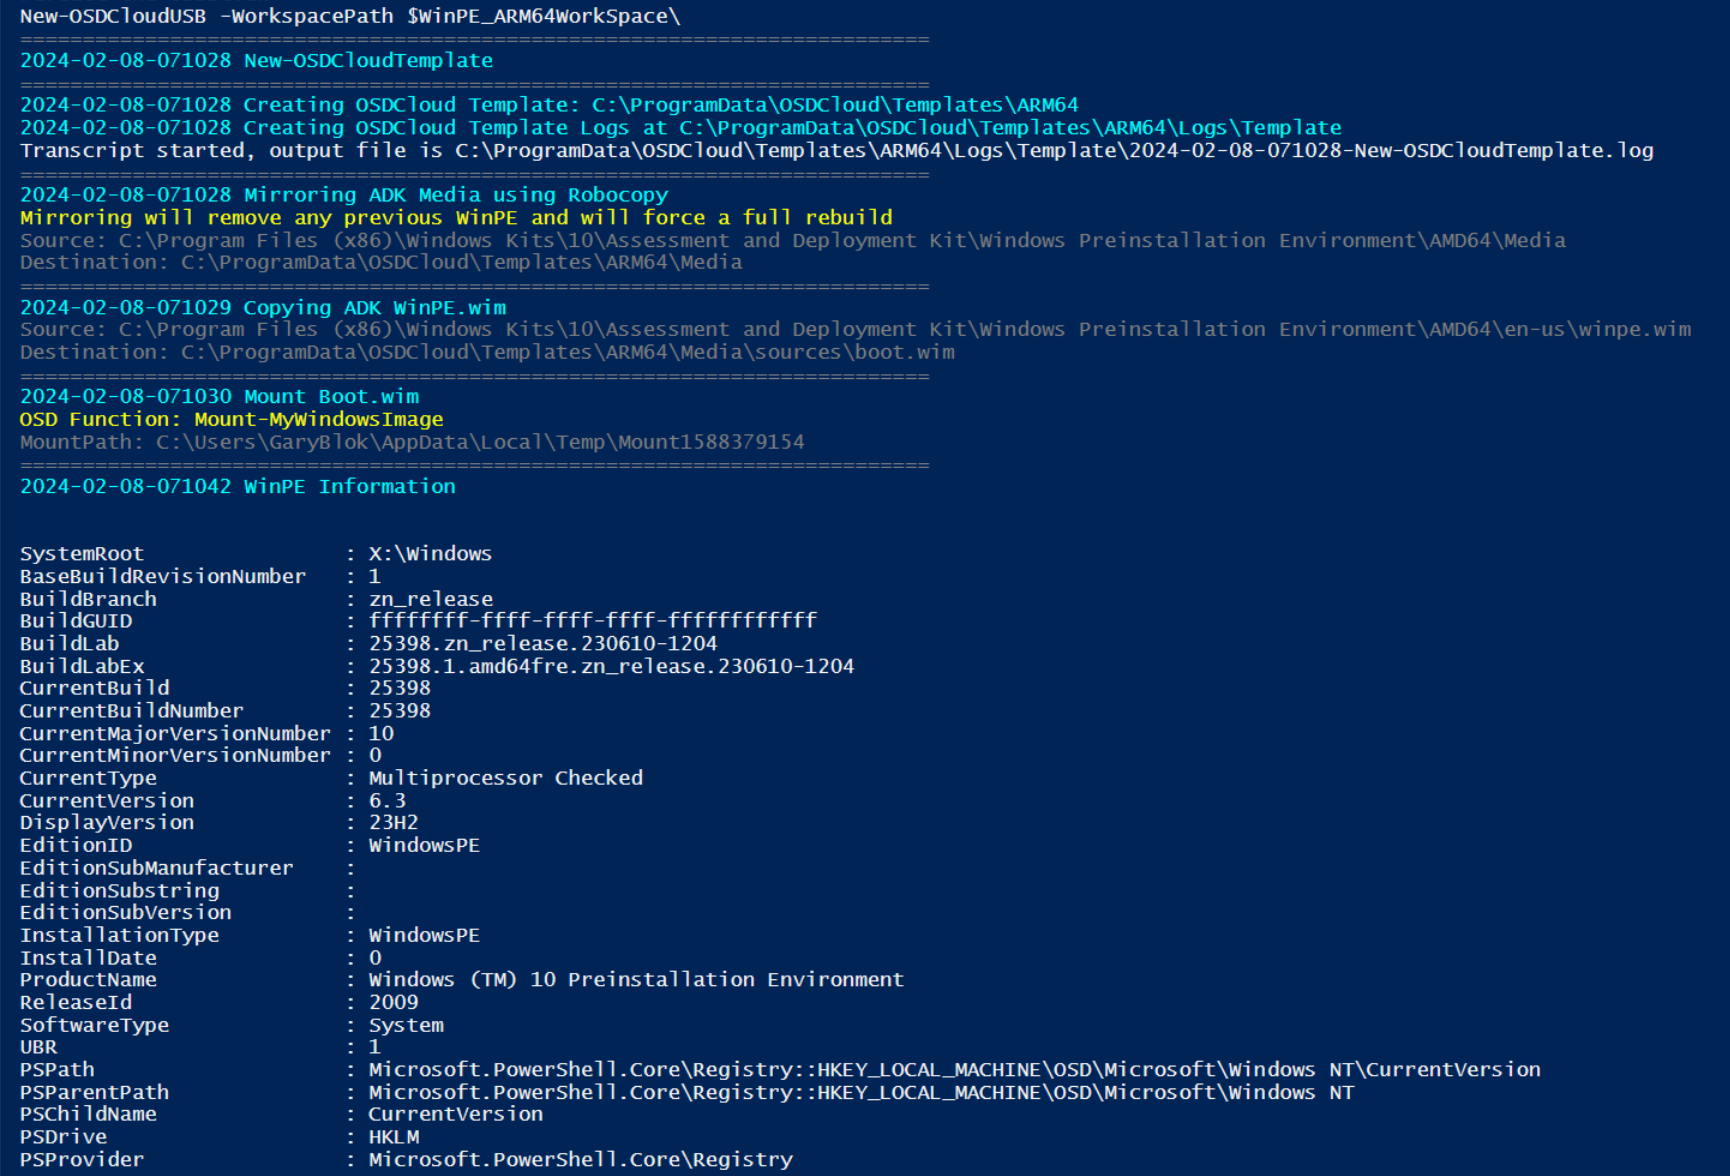
Now we’re going to create the extra folders we need and copy the ARM64 winpe from the ADK
#Create Media Folder Structure
if (!(test-path -path "$WinPE_ARM64WorkSpace\media")){New-Item -Path "$WinPE_ARM64WorkSpace\media" -ItemType Directory | Out-Null}
if (!(test-path -path "$WinPE_ARM64WorkSpace\media\sources")){New-Item -Path "$WinPE_ARM64WorkSpace\media\sources" -ItemType Directory | Out-Null}
if (!(test-path -path "$WinPE_ARM64WorkSpace\fwfiles")){New-Item -Path "$WinPE_ARM64WorkSpace\fwfiles" -ItemType Directory | Out-Null}
if (!(Test-path -path $MountDir)){new-item -path $mountdir -ItemType directory -force | Out-Null}
#Copy Items needed from the ADK (copype)
copy-item -Path "$ADKPathPE\arm64\Media\*" -Destination "$WinPE_ARM64WorkSpace\media" -Recurse -Force
Copy-item -path "$ADKPath\Deployment Tools\arm64\Oscdimg\efisys.bin" -Destination "$WinPE_ARM64WorkSpace\fwfiles"
copy-item -Path "$ADKPathPE\arm64\en-us\winpe.wim"-Destination "$WinPE_ARM64WorkSpace\media\sources\boot.wim"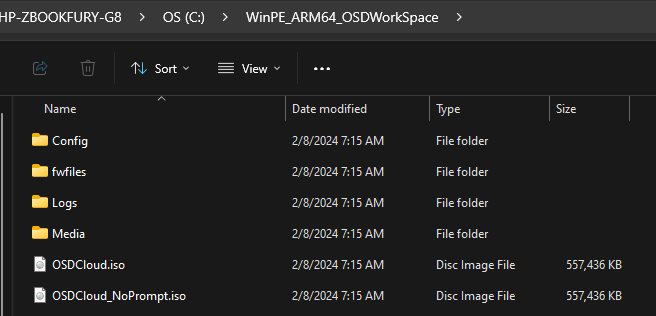
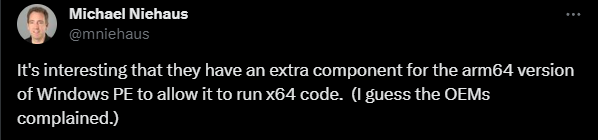
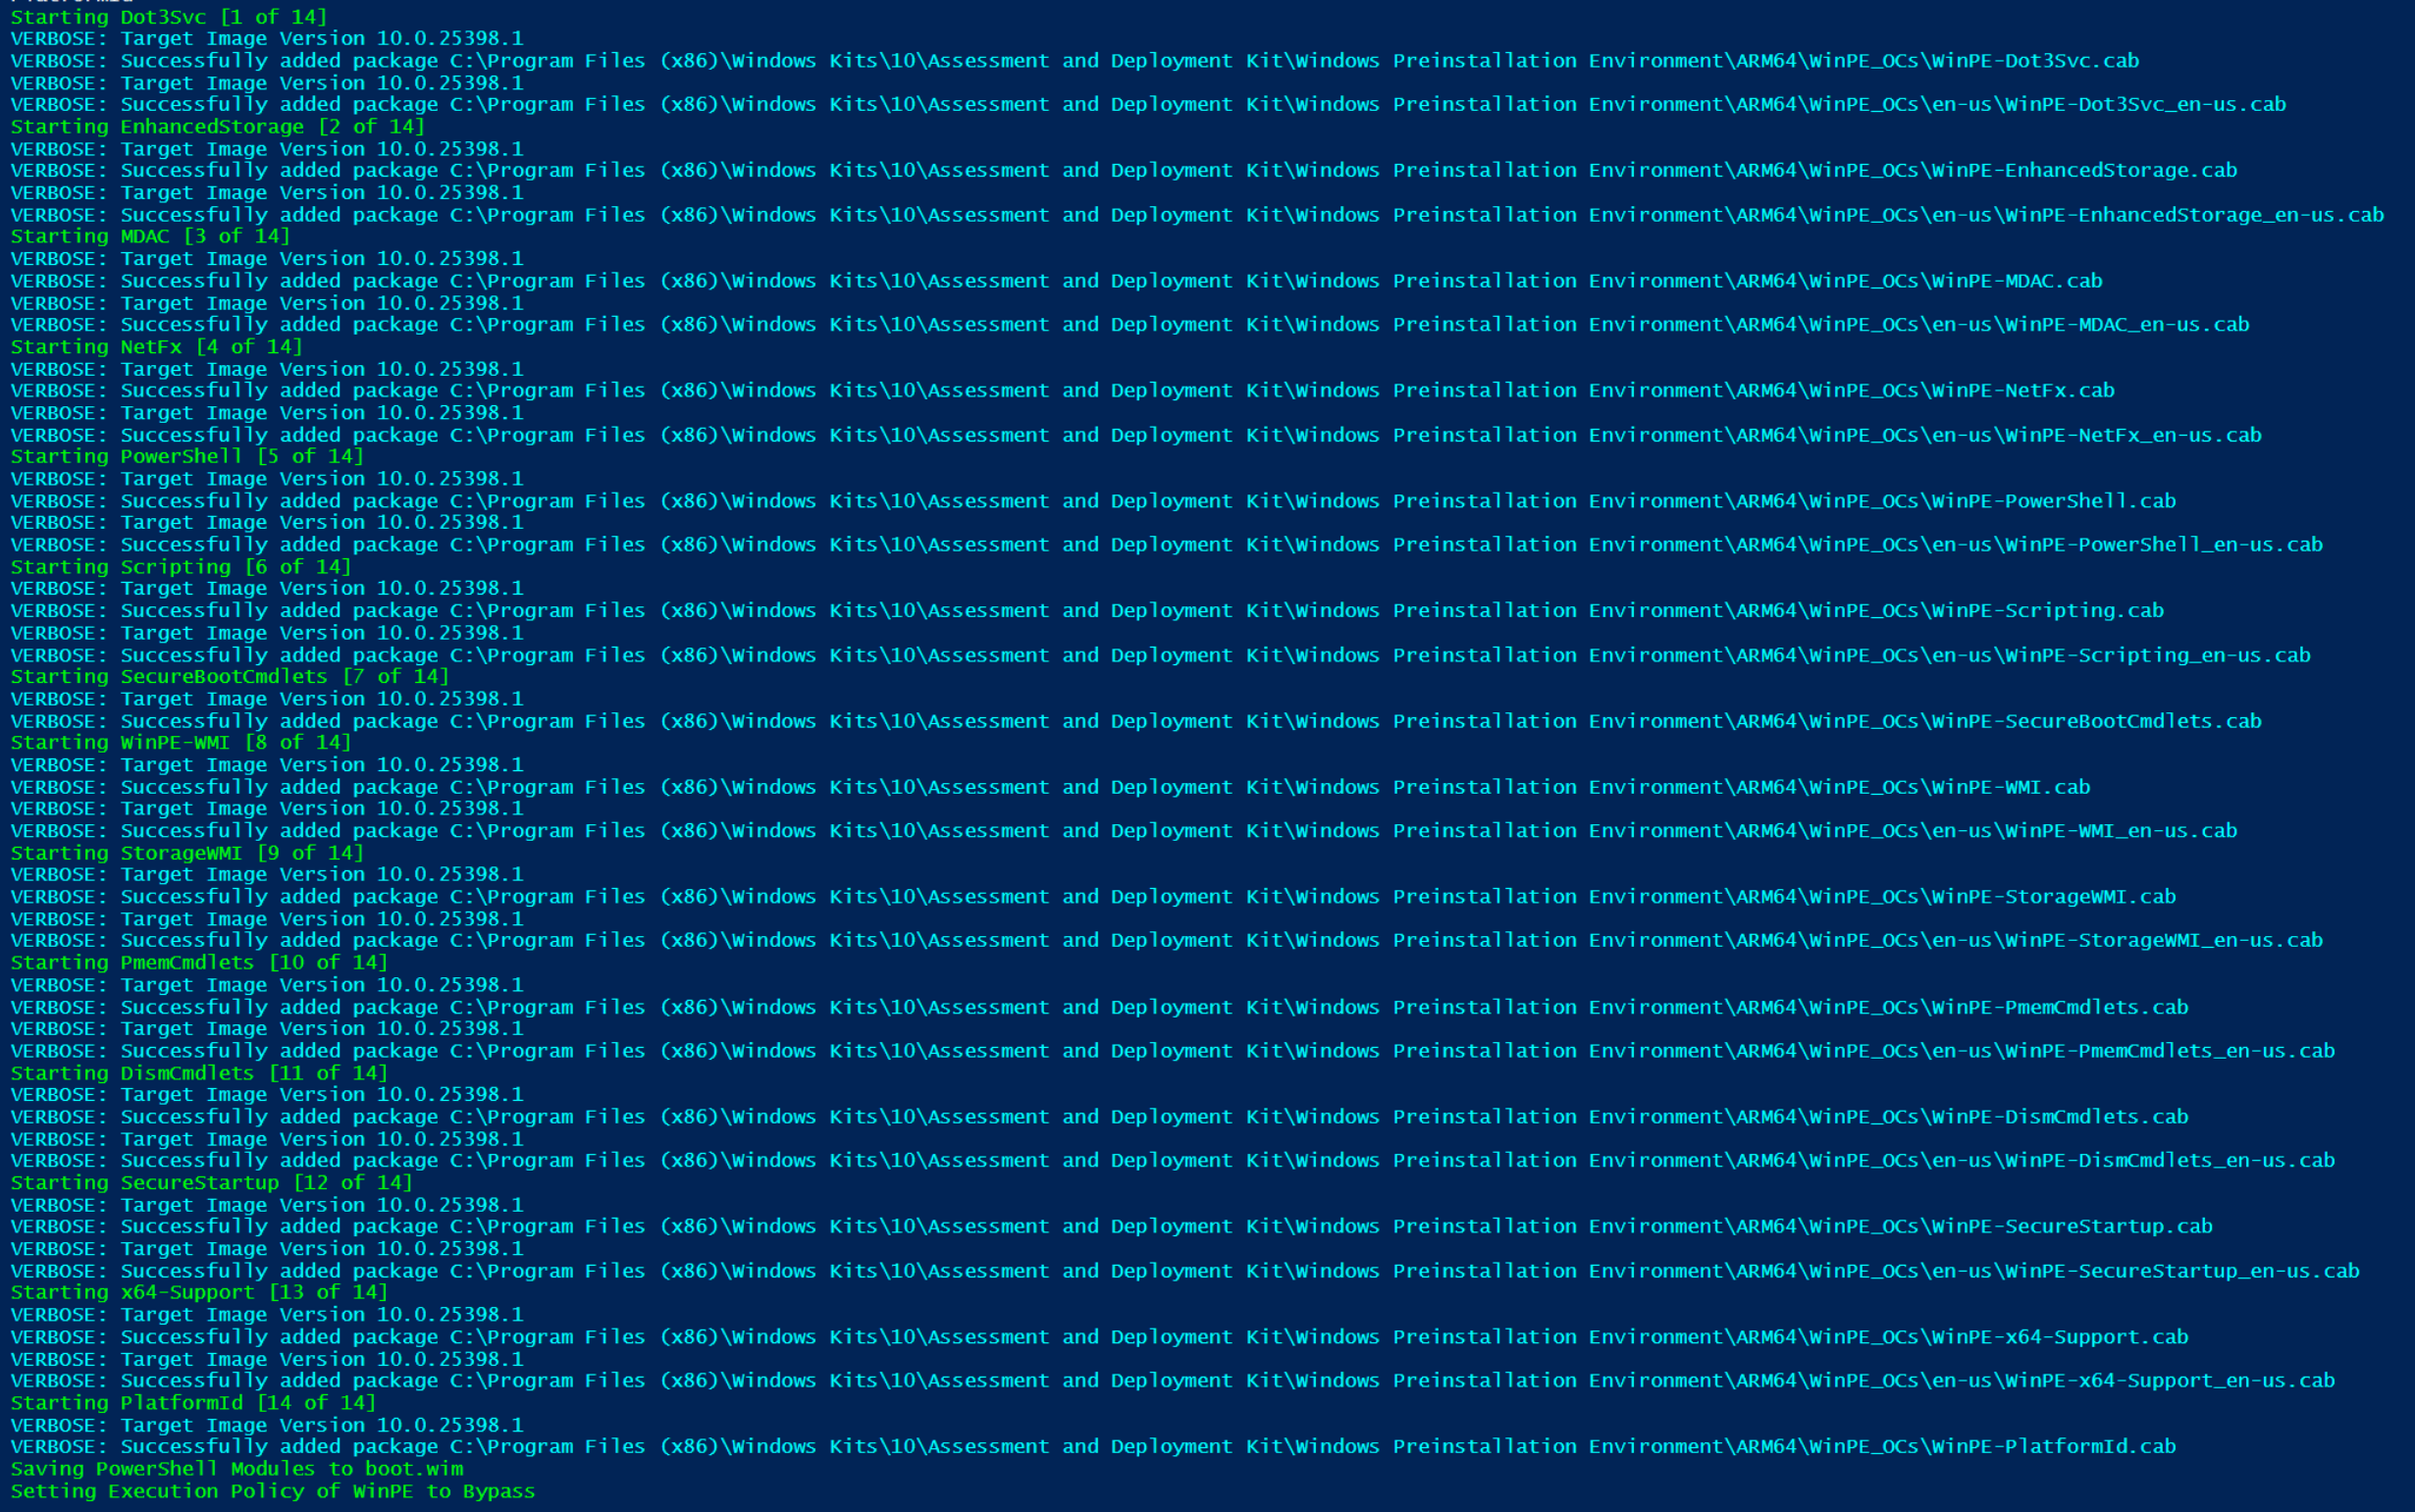
So now we have the basic building blocks of WinPE for ARM64, lets start adding features. We’re going to mount the boot.wim file, and DISM in the features we want, in a specific order. Note the x64-Support item, that allows for some x64 exes and processes to work in ARM64.
#Mount WinPE Image
Mount-WindowsImage -Path $MountDir -ImagePath "$WinPE_ARM64WorkSpace\media\sources\boot.wim" -Index 1

#Cabs to Install IN SPECIFIC ORDER
$CabNames =@('Dot3Svc','EnhancedStorage','MDAC','NetFx','PowerShell','Scripting','SecureBootCmdlets','WinPE-WMI','StorageWMI','PmemCmdlets','DismCmdlets','SecureStartup','x64-Support','PlatformId')

#Get Installed Features, this is handy if you're modifing it in the future
$InstallFeatures = Get-WindowsPackage -Path $mountdir | Where-Object {$_.PackageName -notmatch "en-US"}

#Start Adding Features
foreach ($CabName in $CabNames){
    Write-Host "Starting $CabName" -ForegroundColor Green

    $Installed = $InstallFeatures | Where-Object {$_.PackageName -match $CabName}
    if ($Installed.PackageState -eq "Installed"){
        Write-Output " Already Installed"
    }
    else{
        $workingcab = $Null
        $workingcabenus = $Null
        $workingcab = get-childitem -Path "$ADKPathPE\ARM64\WinPE_OCs" -Filter *.cab | Where-Object {$_.Name -match $CabName}
        if ($workingcab){Add-WindowsPackage -Path $MountDir -PackagePath $workingcab.FullName -Verbose}
        $workingcabenus = get-childitem -Path "$ADKPathPE\ARM64\WinPE_OCs\en-us" -Filter *.cab | Where-Object {$_.Name -match $CabName}
        if ($workingcabenus){Add-WindowsPackage -Path $MountDir -PackagePath $workingcabenus.FullName -Verbose}

    }
}
So now your mounted winpe will have the features you need to do your scripts and other tasks in winpe. But yet, there’s more to do. I like to add PowerShell modules right into my boot image that I know I’m going to be using:
#Add PS Modules to the Boot Image
Save-Module -Name PowerShellGet -Path "$MountDir\Program Files\WindowsPowerShell\Modules"
Save-Module -Name PackageManagement -Path "$MountDir\Program Files\WindowsPowerShell\Modules"
Save-Module -Name HPCMSL -Path "$MountDir\Program Files\WindowsPowerShell\Modules" -AcceptLicense
Save-Module -name OSD -Path "$MountDir\Program Files\WindowsPowerShell\Modules"
#Set Execution Policy Bypass on boot WIM.
Set-WindowsImageExecutionPolicy -ExecutionPolicy Bypass -Path $MountDir


#Dismount and Save WinPE Image
Dismount-WindowsImage -Path $MountDir -Save
I do end up updating those modules pretty frequently, so I’ve writen functions to clear out the old and install the latest, but that’s for another time.
So now you have a pretty functional WinPE… except no drivers. Hopefully soon OEM’s will release WinPE driver packs for ARM64, similar to how they have for x86 and x64 for years, and I’m pretty sure they will once they start releaseing ARM64 enterprise devices on a regular basis.
So here is the code to add drivers to your image, then finally using OSDCloud’s function to turn your workspace into a bootable flash drive.
#Add Drivers
# Add-WindowsDriver -Path "c:\offline" -Driver "c:\test\drivers" -Recurse
Mount-WindowsImage -Path $MountDir -ImagePath "$WinPE_ARM64WorkSpace\media\sources\boot.wim" -Index 1
Add-WindowsDriver -Path $MountDir -Driver "$WinPE_ARM64WorkSpace\Drivers" -Recurse #This will be a folder of drivers you collect to add to your WinPE... good luck
Dismount-WindowsImage -Path $MountDir -Save

#Create the USBStick
New-OSDCloudUSB -WorkspacePath $WinPE_ARM64WorkSpace\
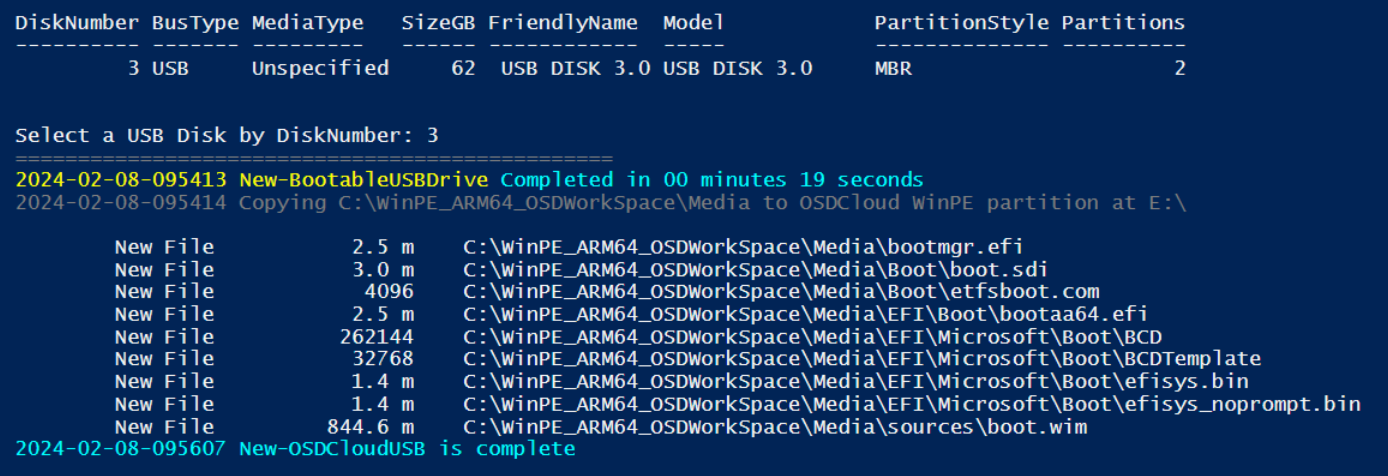
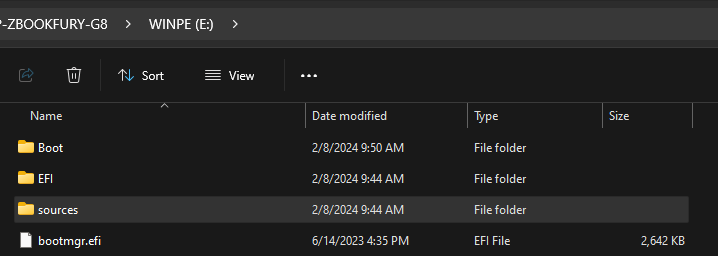
And your Flash Drive will have a volume for OSDCloud content, and a boot volume (WINPE) with your ARM Boot Media.
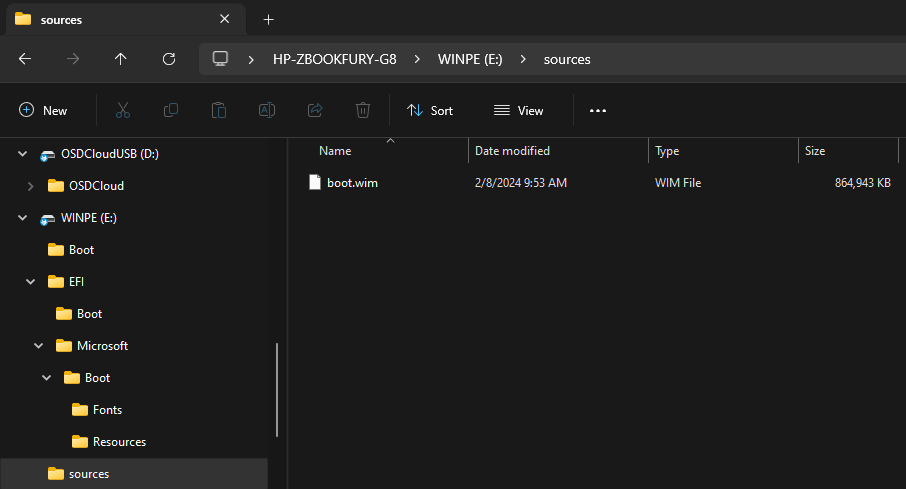
Note, I’ve already added drivers into my boot.wim, so it’s a few hundred MB larger than default.
Check back for my upcoming adventures with OSD on ARM64.
GARYTOWN.COM
Hello,
Is this all done on WoA device or does it all the magic on x86/x64 Windows too?
Creating the ARM Boot media was all done on my HP device (x64)
Hey, quick question, were you able to run VBScript with this ARM64 boot image?
I’m trying to use a tool that leverages that language while deploying an ARM64 Windows 11 via SCCM (supported recently after the 2403 update).
Thanks a lot for this guide, it’s very well explained.
Sorry Julian, I haven’t tested VBScript on ARM64, I moved away from it so long ago that I don’t think about it.
If you’re talking about UI++, I’d recommend looking for alternatives. I’ve heard TSGui is good, but I haven’t used it myself:
https://www.20road.com/tsgui-custom-guis-in-sccm/