This is where it starts to get intense, so I’ll do my best to explain along the way. Johan’s post really helped me a lot, so feel free to check his out, and that might add another point of view for getting this setup.
Pre-Reqs:
- HP Sure Recover Agent Download (2.10.2.52717 Rev.A from 2022.10.12)
- Install OpenSSL – At the time I wrote this, I used: Win64 OpenSSL v3.0.7 Light
- Endorsement Cert & Signing Cert from Part 2 (Optional)
- HPCMSL Installed
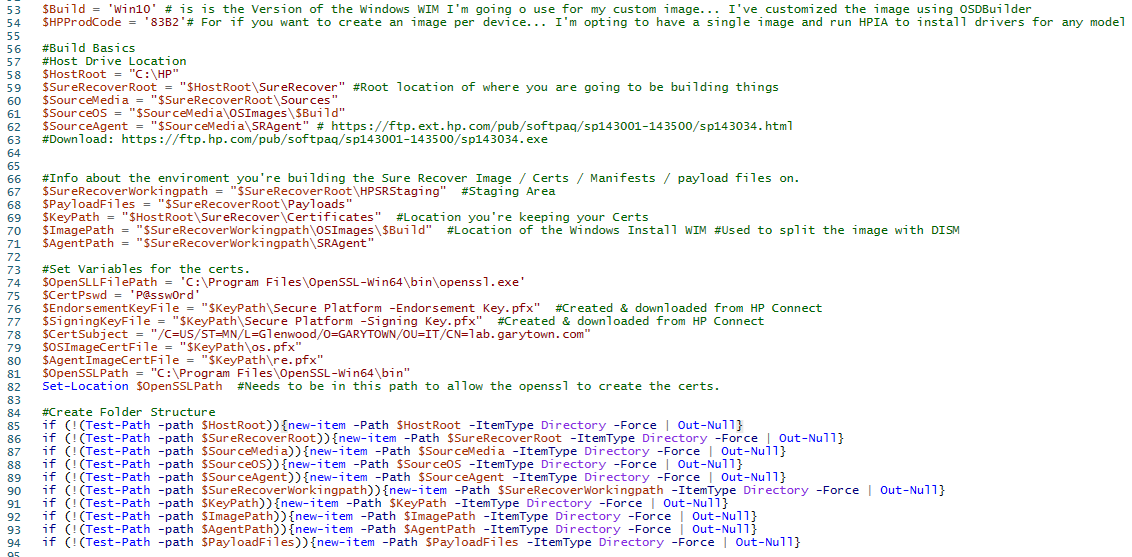
On your Admin machine, determine where you want to build the file structure for this process, I’m going with C:\HP, my script snips will build the rest of it. (Script on GitHub… do NOT run the entire script, just run the parts as needed)
Update the Build number for the Build you are deploying, Win10, Win11, this will allow you to easily manage different OS Builds that you would like to deploy to different devices. You can get more granular if you want and build as many different folders as you want, all depends on your needs. You can create an image per model, business unit, or whatever you want, it’s all up to you. I’m just trying to stick with two images, Win10 for older hardware, and Win11 for newer, inject basic drivers, and using HPIA to finish the job during deployment.
Building Sources & File Structure
Update the Certificate variables to be what you want and to match the cert names ($EndorsementKeyFile & $SigningKeyFile) you created before
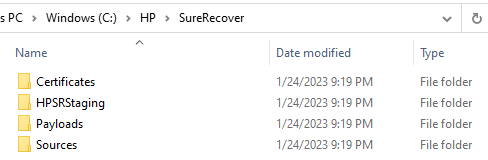
I just ran that part to build out the structure:
I’ve copied my Windows 10 install WIM into the source folder:

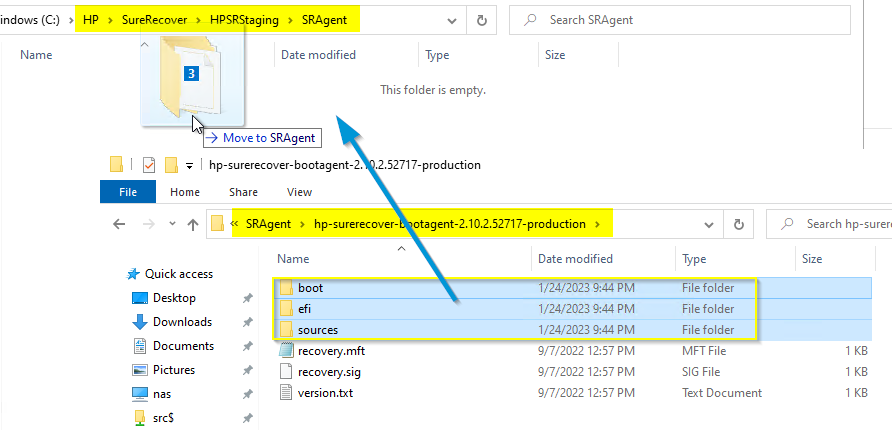
Sure Recover Agent – Once downloaded, Extract to the sources folder… so you have a copy of the unmodified original content. In the future you might want to create custom boot agents, but it’s always nice to keep the original around.
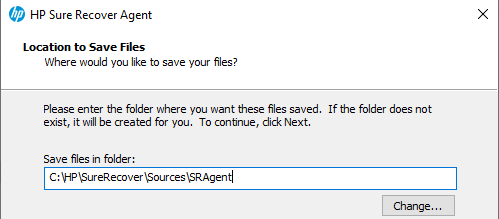
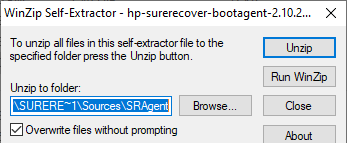
Now copy (not MOVE) just the folders into your staging agent folder:
Now you have all of the content needed, it’s time for the certificates.
Creating Additional Certificates
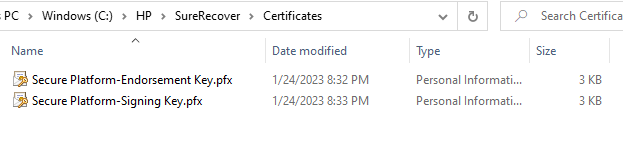
Make sure you have copied the 2 certs you made in the last part (Endorsement & Signing Keys) into the
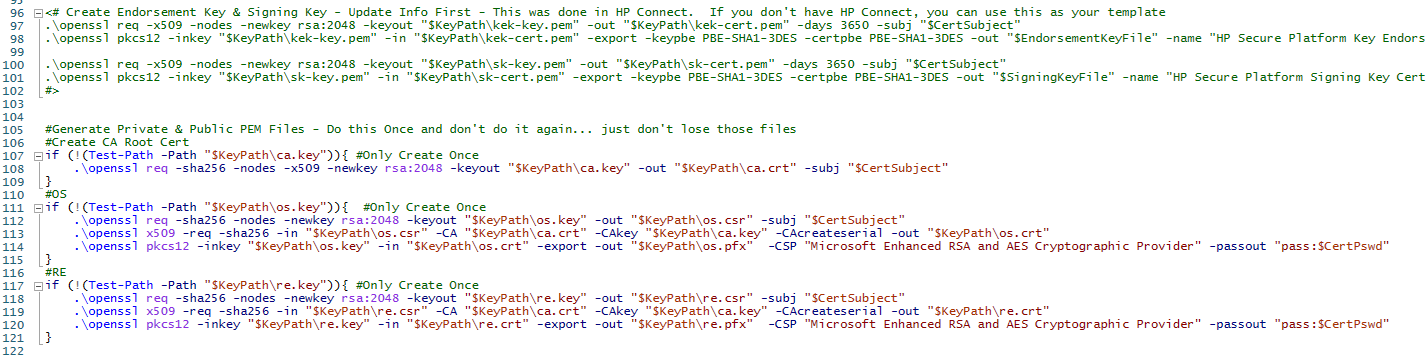
Make sure you’ve installed OpenSSL and are in the bin path for these next commands to work. We’re going to create a Root Cert, then a OS Image Cert & Recovery Agent Cert based on that.
Note, I’ve left the code in the file for if you wanted to create the Endorsement key & Signing Key yourself as well without using HP Connect.
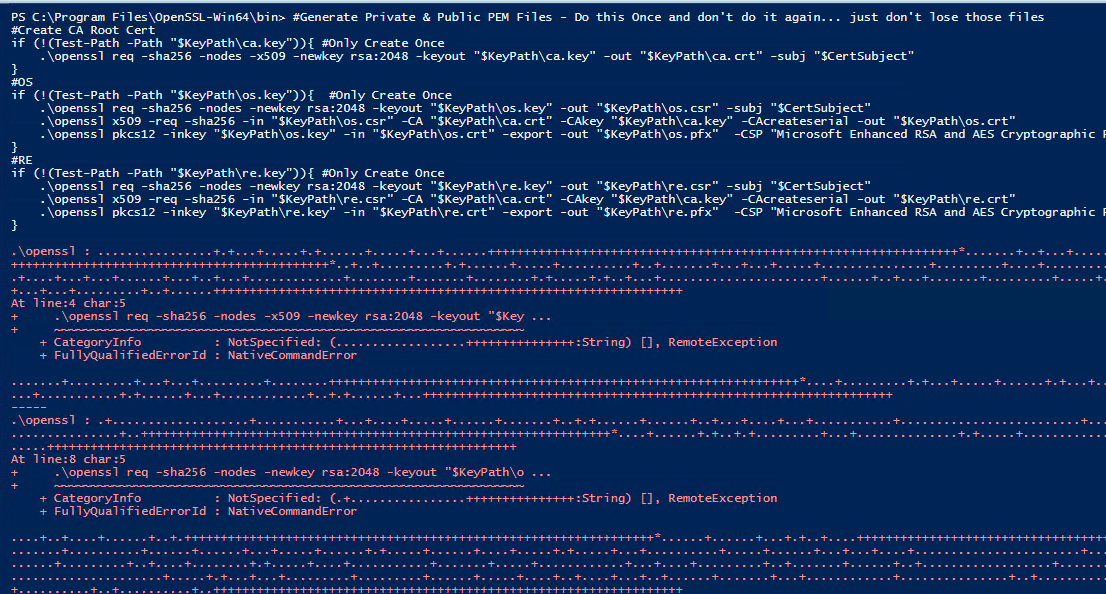
When it runs, you’ll see a bunch of “Red” text, these are not errors, just the output of the openssl
You should now see several more files in your Certificate folder:
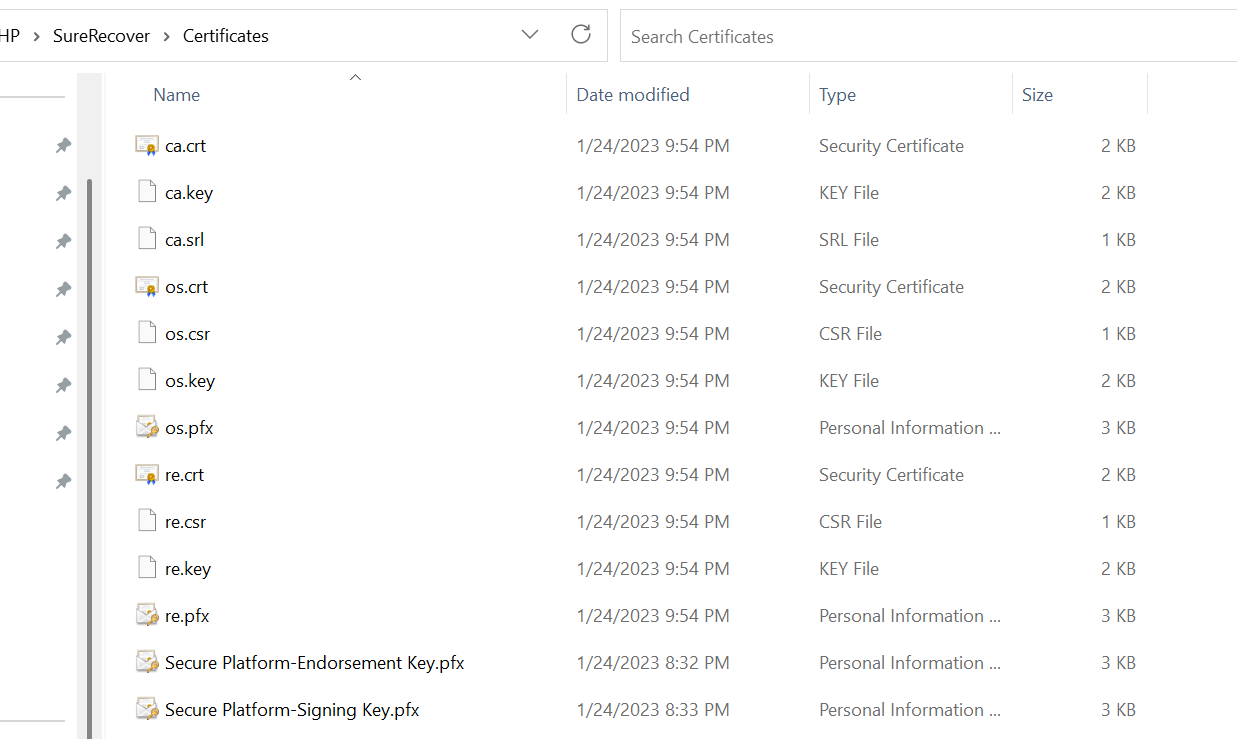
Now we have the building blocks for creating signing the contents and creating the Sure Recover payload files.
Creating the Manifest & Signature Files
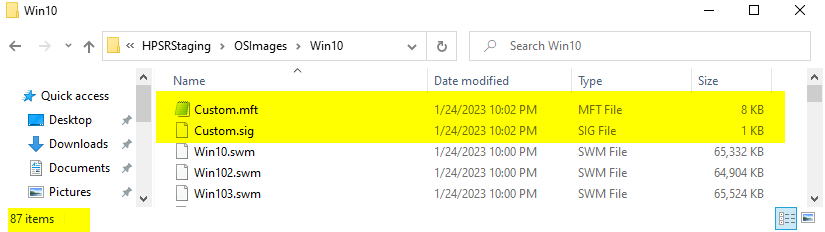
There are two different code blocks for this which are basically the same, but one is for the OS images, and one for the Agent. With the OS Image, we’re also going to split the image with DISM, as recommended by HP or if you have a really large WIM file, I’ve had issues with Azure storage.


That command split the Source install.wim, and placed it into our staging area.
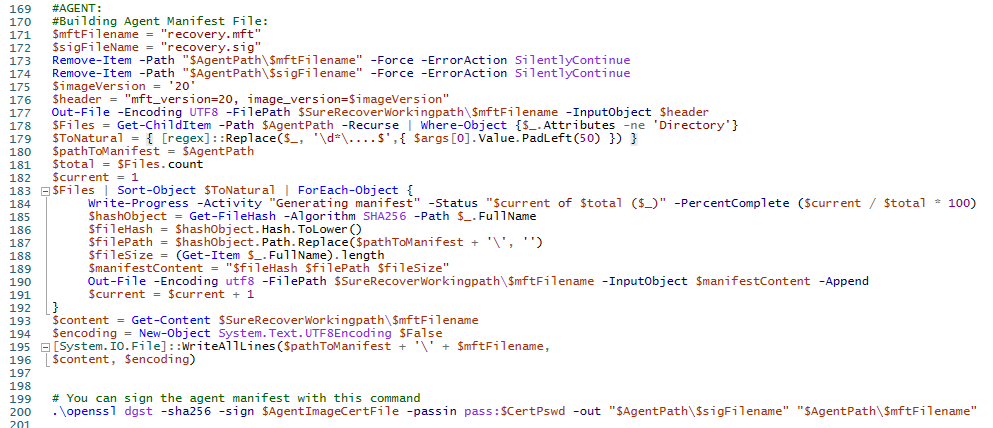
Next we create the manifest file and sign it:
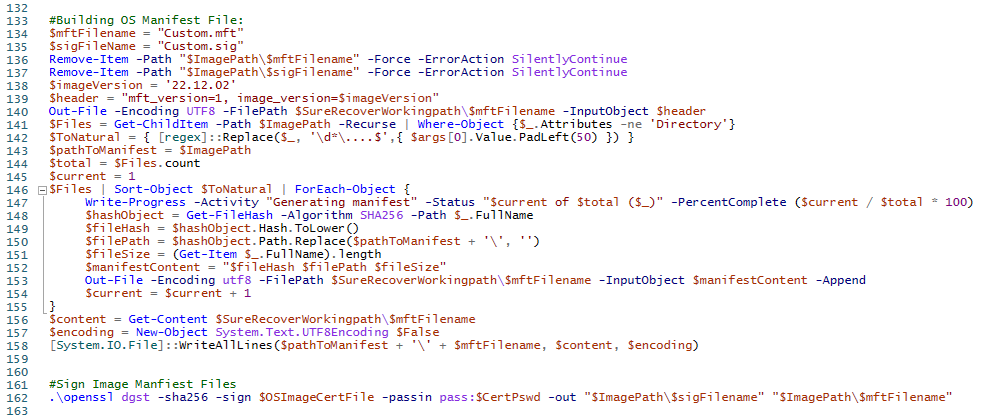
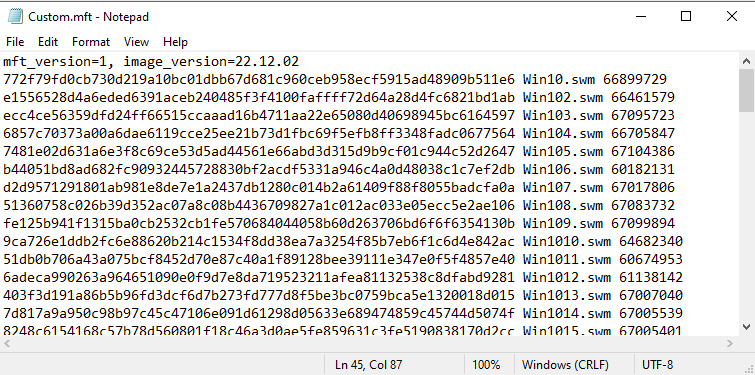
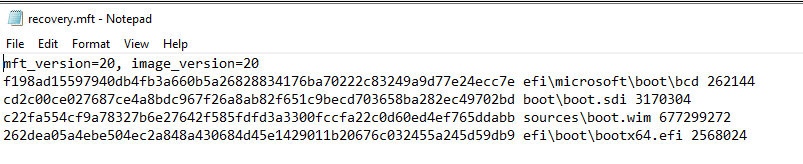
The manifest file keeps track of all of the files needed to be downloaded by the Sure Recover agent, and the signature file makes sure the manifest file doesn’t get tampered with once you’ve created it.
Now, we repeat for the Agent
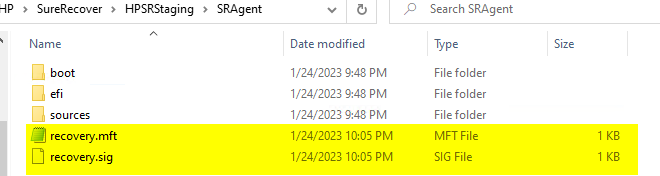
Now we have the manifest file and signature file for the agent, it’s time to make payload files that we will deploy to the endpoint…. in the Next post!
- Overview
- HP Connect – Create 2 of the needed certificates.
- Certs, Manifests & Signatures
- Azure Blob Storage Container to host your Agent & OS Images
- Creating your HP Secure Platform Payload files
- Deploy Payload Files
GARYTOWN